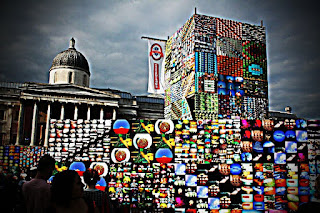
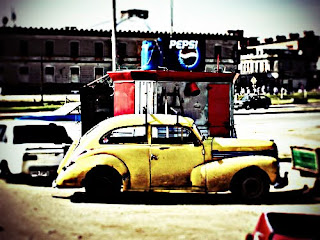
Exam yang agak memenatkan aku..tetapi masih boleh meneruskan lagi...erm...ada member yang tanya pasal gambar"Chuah macam mana nak buat gambar gelap tepi tuh"* sebenar tu lomography....hahaha...mungkin dia malas pergi google belajar kot...tu la nak ambik gambar tapi malas belajar....Ok la..sebab member punya pasal aku tulis la kat sini..tetapi ni untuk PS(photoshop)sebab ni yang je yang aku reti....miahahhaha,,,
1. Open the image, you can check your level (optional)
2. Copy the layer ( Ctrl+J)
3. Select/click the top layer and go to Filter>Others>High Pass. Choose the radius between 5.0 to 7.0 (depends on the image)
4. Go to Layer>Layer Style>Blending Option and change the blend mode into Vivid Light
5. Merge down the layer (Ctrl+E)
6. Select the top layer and go to Filter>Distort>Lens Correction. Changes made only in Vignette section. Change the amount and midpoint into negative value, this will make the picture be darker at the boarder/frame. example : Amount: -50; Midpoint: - 40
7. Click on Channel tab or Window>Channel.
8. Invisible all the color except Red Channel, by uncheck all the small boxes and leave only Red Channel with the eye.
9. Go to Image>Adjustment>Brightness&Contrass. Increase the Contrast. Example : +50
10. Now make only Green Channel visible.
11. Go to Image>Adjustment>Brightness&Contrass. Increase the Contrast. Example : +50
12. Now make all the channel visible.
* you can play with the colour balance to make the photo more interesting.


Ni sample yang aku buat...korang boleh buat kalu ikot tuh...selamat mencuba


 7:27 AM
 nicholas chuah
0 comments:
Post a Comment